Customise embedded Google Maps with a specific colour scheme
13 February 2015

Customise your Google map...
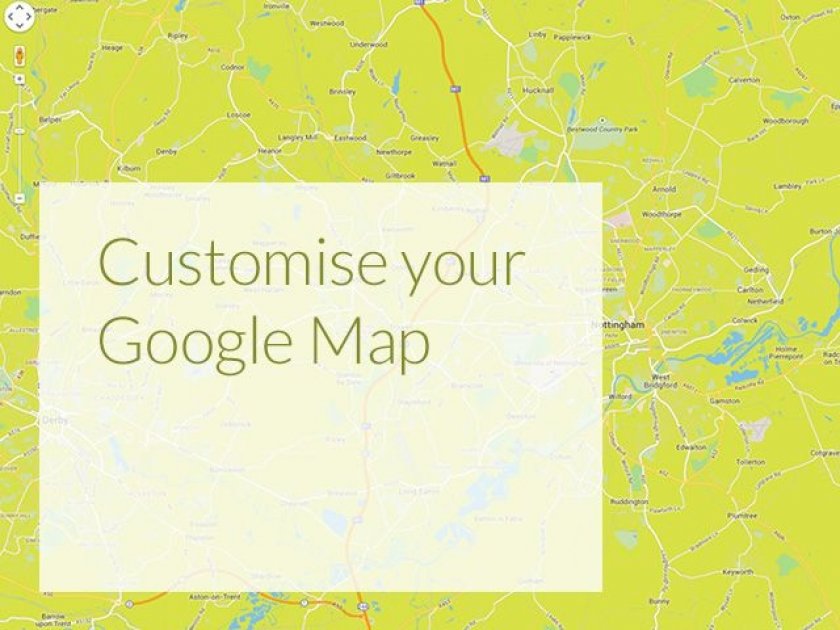
Our guide on How to create a Black and White Google Map helps your embedded map look both stylish and to easily fit into your web design. But what if you want to style the map in a specific colour scheme so that the embedded map matches your company’s brand or your website’s colour palette. In the previous guide we showed you how to extend the MapOptions object to change the colour of the map to black and white. From here it is also possible to provide other custom options.
By supplying a JavaScript array it’s possible to:
- 1) Specify your own colour choices to overwrite the default ones
- 2) Dictate colours for specific map elements, such as roads and labels
- 3) Hide elements that you don’t want to include in your custom map
Examples
To change the colour of your map you first need to specify the map feature that you want to change, for example roads or bodies of water. You can find a complete list of map features that can be customised here.
Once you’ve identified the feature type that you want to colour, in this case the landscape, you can define the visibility and colour options:
var style = [ { featureType: "landscape", stylers: [ { color: "#D8E146" } ] } ];
The above example demonstrates how you can create a style array that changes the colour of the landscape. In this case we’ve changed the colour of the landscape to the Absolute brand green. It also shows the colour’s hexadecimal value, which is just one way to state the colour. Alternative ways include a combination of hue, colour, and lightness/gamma values.
This can then be integrated within your map using the following example:
map.setOptions({ styles: styles });
A complete example of a map setup with custom colours is shown below, this example adds custom colours to the sea, landscape and business showing just some of adaptations that are possible:
Step 1 Creating a container for your map
Step 2 Integrate Google Maps API
There are several ways to do this but for this example we would advise including the ‘JS’ within your footer:
Step 3 Add some CSS
Add some CSS to define the map’s size on the page:
.custommap { height: 500px; width: 500px; }
Step 4 Adding the Custom JS
Contact Us to discuss how we can help increase sales and boost your online performance!
INSIGHTS
CASE STUDIES

Fired Earth - Shopify Plus
Fired Earth’s move to Shopify Plus marked a major transformation for their B2C and B2B operations, streamlining their product catalogue and delivering a faster, more adaptable eCommerce experience, supporting growth and enhanced customer engagement.
-
Shopify

Carluccio's Coffee Subscription
Discover how we helped Carluccio’s transform their online coffee products, creating a bespoke design, unique user journey and efficient user experience, resulting in an eye-catching subscription service, seamlessly integrated with their Shopify site.
-
Shopify
CONTACT
Are you excited to get your next project up and running? Or are you unsure what is dragging you down?
Contact Us to discuss how we can help increase sales and boost your online performance!

Enter your email address to sign up to our newsletter, featuring case studies, insights, industry news and much more.
If this is something you would like help with, please get in touch.


